For projects large and small - if it’s important to you, it’s important to us.
Exterior Contractors in the Pacific Northwest Serving the Portland, OR and Vancouver, WA areas
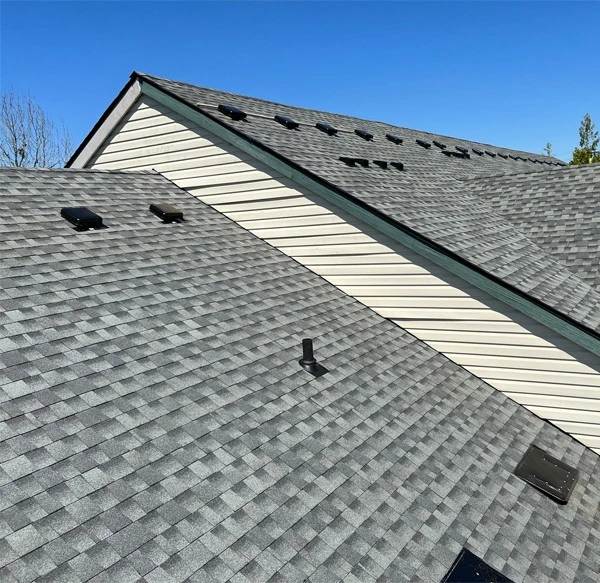
Get trusted roofing and gutter repair and replacement services from your premier local contractors.


 and Brad (right)")


