The roof of your house acts as the home’s protective barrier. It shields your home from harsh environmental conditions, such as heavy rains and strong winds. But most people don’t spend too much time thinking about their roof or how to protect it. If that applies to you, don’t worry. Interstate Roofing has you covered. We’ll go over the anatomy of a roof, so you’ll learn everything you need to know to extend the life of your home’s protective barrier.
You may not think you need to be knowledgeable about a roof’s layout, but understanding how a roof is constructed will help you better care for and maintain it. It will also help you more easily understand and communicate with a roofing contractor should you need repair or replacement work. So let’s get into the basics of how a roof is constructed and what you need to know about the major components.
Decking
The anatomy of a roof begins with its decking. This is essentially the first layer of the roof, which acts as its foundation. Everything else will be layered on top of this base layer. The decking is laid on top of the roof’s structural components, such as the trusses and joists, and can be made from a variety of materials—most commonly oriented strand board (OSB) or plywood.
In order to protect your decking from moisture absorption, you’ll want to make sure you keep your attic properly ventilated. If the decking absorbs too much moisture, it will cause the wood to swell and shrink. This can cause the roof’s shingles to buckle. We’ll discuss shingles in just a minute.
Underlayment
Once the decking is installed, the wood panels should immediately be covered by the underlayment. The underlayment is a sheet of “paper,” usually made of felt or synthetic materials, that is rolled on top of the decking before shingles are installed. A roof’s underlayment provides extra protection against environmental elements if a roof’s shingles become loose, displaced, or damaged.
Flashing
Flashing refers to metal pieces that collect the water that gathers on a roof and divert it away and ultimately into gutters. It’s usually made of aluminum or galvanized steel and can be found anywhere along the roof where water is likely to collect. For instance, flashing is often found along the base of the chimney, plumbing vent stack, fan vent, or any other place that protrudes from the roof.
Since moisture buildup can erode a roof and greatly diminish its lifespan, flashing is an incredibly important component to maintaining the roof’s overall health. That’s why you’ll want to make sure it’s properly installed. One of the most common causes of roof leaks is faulty flashing, so you’ll also want to make sure it’s well-maintained and functioning properly.
If you notice leaks around the chimney or corners of your roof, it’s likely a flashing issue. To spot problems before they arise, make sure you inspect your flashing on a regular basis. If you notice holes, signs of corrosion, or that the flashing has loosened, these are all signs your flashing will need to be repaired.
Shingles
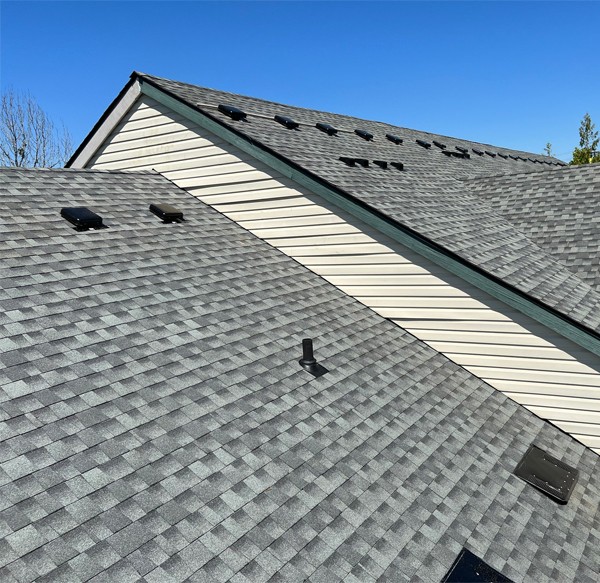
Shingles are likely a term you’re familiar with since they are the visible component of the roof that forms the outermost layer. Like flashing, shingles protect your roof from the elements, such as heavy rains, wind, snow, and other environmental factors that can wreak havoc and spell trouble for your home. Fortunately, it’s often easy to spot shingles that are in disrepair.
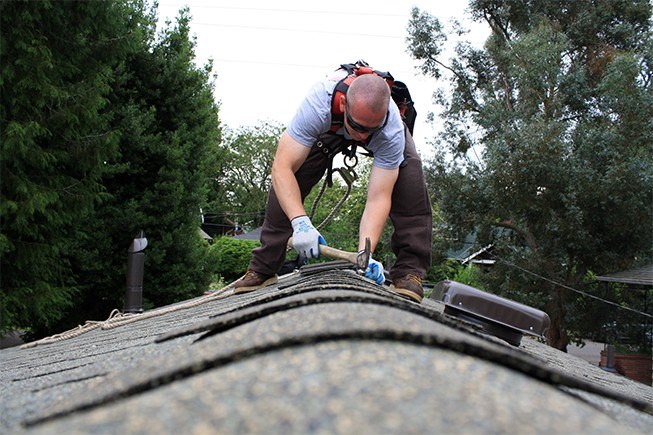
When inspecting the roof of your home, check for any loose or missing shingles. You should especially inspect a roof’s shingles after a heavy storm, as strong winds can often blow the shingles loose. In addition to looking for displaced shingles, you’ll also want to check if any shingles are lifting or curling up. If so, it could be an indicator that it’s time for a replacement.
You should also examine the shingles to see if there is any moss or mold buildup, cracks, or missing granules. All of these are signs that shingles will need to be inspected by a professional. When caught early enough, you may be able to avoid an entire roof replacement and simply replace the few affected shingles.
Other Common Terms to Know
The above components provide a good overview of the anatomy of a roof, but there are other terms you should know.
- Downspout—The downspout is the tube that runs from your gutter to the ground and directs the flow of water away from your home’s foundation.
- Fascia—The fascia refers to the board that runs along the roof’s overhang. It also supports the gutters and prevents water from damaging the interior of the home.
- Soffit—The soffits run underneath the fascia boards and often provides ventilation for the attic.
- Ridge—The ridge is the highest point of a roof.
- Ridge vent—A ridge vent runs along the peak of the roof and also helps keep the attic ventilated.
- Valley—A valley refers to a V-shaped area connecting two areas of
sloped roof. Valleys help to discard runoff water. - Eaves—The eaves are the lower part of the roof that extends beyond the house.
- Pitch—The pitch is the measurement of a roof’s steepness.
This is by no means a comprehensive list of everything you need to know when it comes to the anatomy of a roof. But it’s a good place to start. It’s an excellent idea to continue reading about and researching how a roof is constructed. The more knowledgeable you become, the better equipped you’ll be to care for your roof.
Since your roof is vital to the overall function of your home, it’s important to spot potential problems before they evolve into more serious issues. When a roof is well-maintained, it’s less likely you’ll need to call a roofing contractor in Portland for major repair work. So keep a roof over your head by following these basic tips. That way, you’ll only have to call in the pros at Interstate Roofing when you need a little reinforcement.